A brief guide to self-hosting websites and apps using Cloudflare Tunnel

If you're having speed problems, I feel bad for you son / I got 99 problems, but fibre ain't one
What follows is a brief overview of how I'm hosting most of my websites and the tools I've created using a Mac Mini M1 (8GB) and Cloudflare Tunnel.
This means that, instead of paying £30/month for a VPS, I'm paying nothing other than the cost of the electricity to my Mac Mini.
Here are some slightly ironic caveats given what we're trying to achieve through TechFreedom:
- Your internet connection needs to be fast enough and reliable enough to make this work
- Cloudflare Tunnel doesn't really have any competitors. I've looked, and they all do part of what it offers, but not all. So while I'd prefer not to rely on a US-based company, I'm tolerating this for now.
- You can do this on any kind of machine and operating system, but Mac Minis are fast, cheap, and macOS Screen Sharing is extremely easy. This means I can run it without a monitor.
Step 1: Prepare the Mac Mini
You'll need a monitor attached to your Mac Mini for steps 1-5, and then here's what to do:
1. Plug the Mac Mini to your router, or wireless access point, via ethernet.

- Ensure that your Mac Mini has a consistent IP address from your router. You can do this in the router settings, but you can also do it in macOS by going to System Settings → Network → Ethernet → Details → TCP/IP and select 'Manually' under 'Configure IPv4'. If your Router is 192.168.0.1, for example, choose something that's free like 192.168.0.99
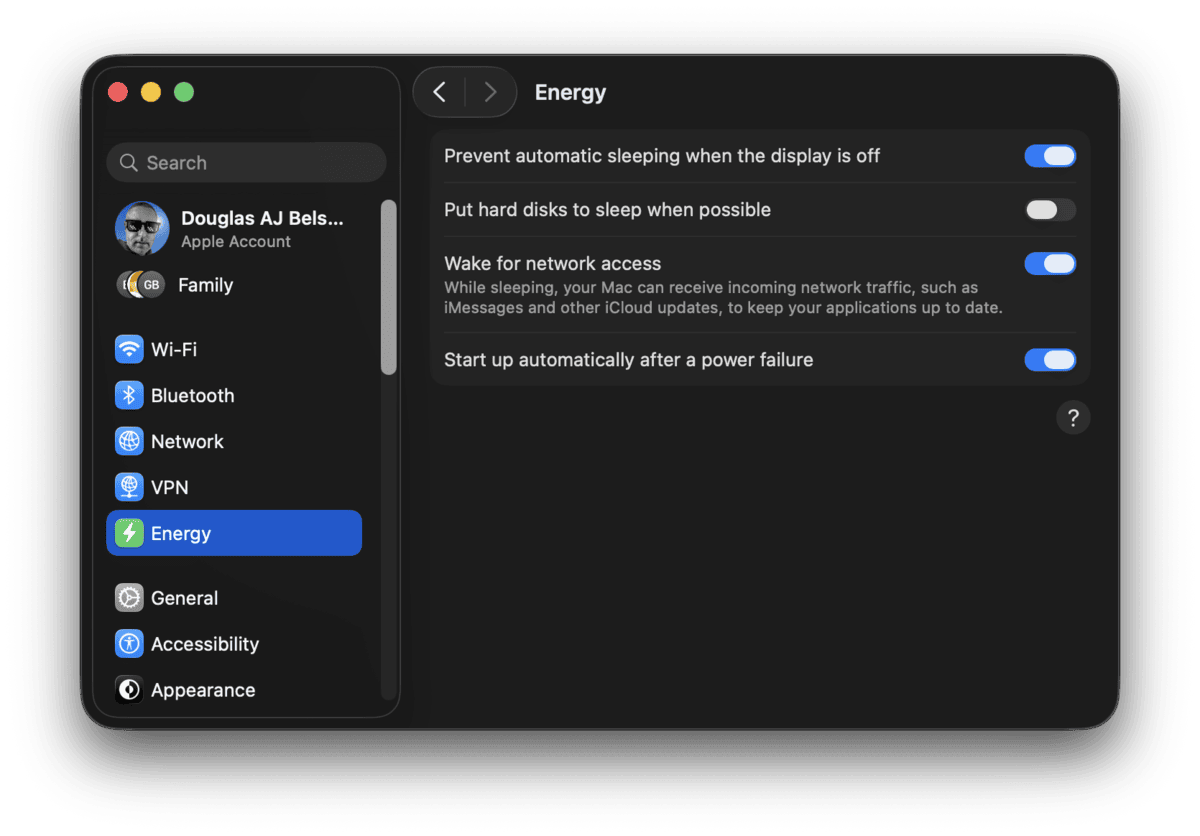
- Ensure that your Mac Mini stays on by going to System Settings → Energy and setting sensible settings (see screenshot above)
- Automatically log yourself in as an administrator by going to System Settings → Users & Groups. Note that this means you have to turn off FileVault.
- Enable Screen Sharing by going to System Settings → Sharing and turning it on.
- Now disconnect the monitor from your Mac Mini, and try to connect to it from another Mac via Screen Sharing.
- Once that's working, install Docker Desktop on your Mac Mini.
Step 2: Set up a Cloudflare Tunnel
You're going to need a free Cloudflare account and a domain, or domains (and subdomains), that you want to connect to services running via Docker on your Mac Mini.
Cloudflare move around their options all of the time, but at the time of writing, this was correct.
- Set up your domain and DNS. This guide isn't going to cover this, because it's pretty much exactly the same as wherever you've done it before. If you haven't got a domain, you can get one through the Cloudflare interface (Domains → Registrations)
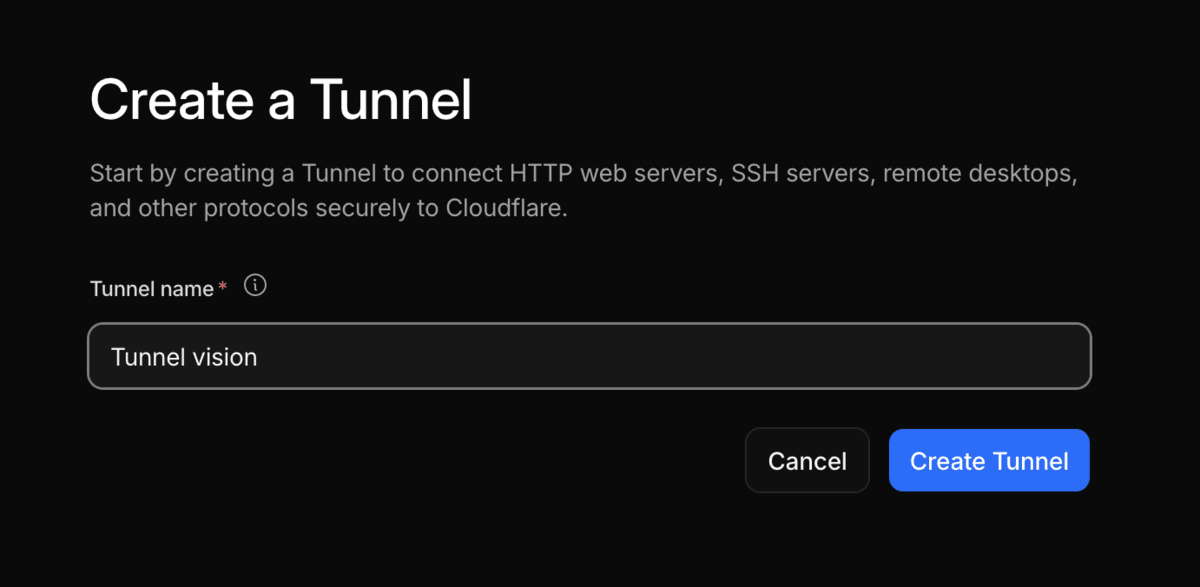
- Go to Networking → Tunnels in the sidebar and press the 'Create Tunnel' button. Give your Tunnel a name.
- Choose 'Docker' as your option and copy/paste the command.
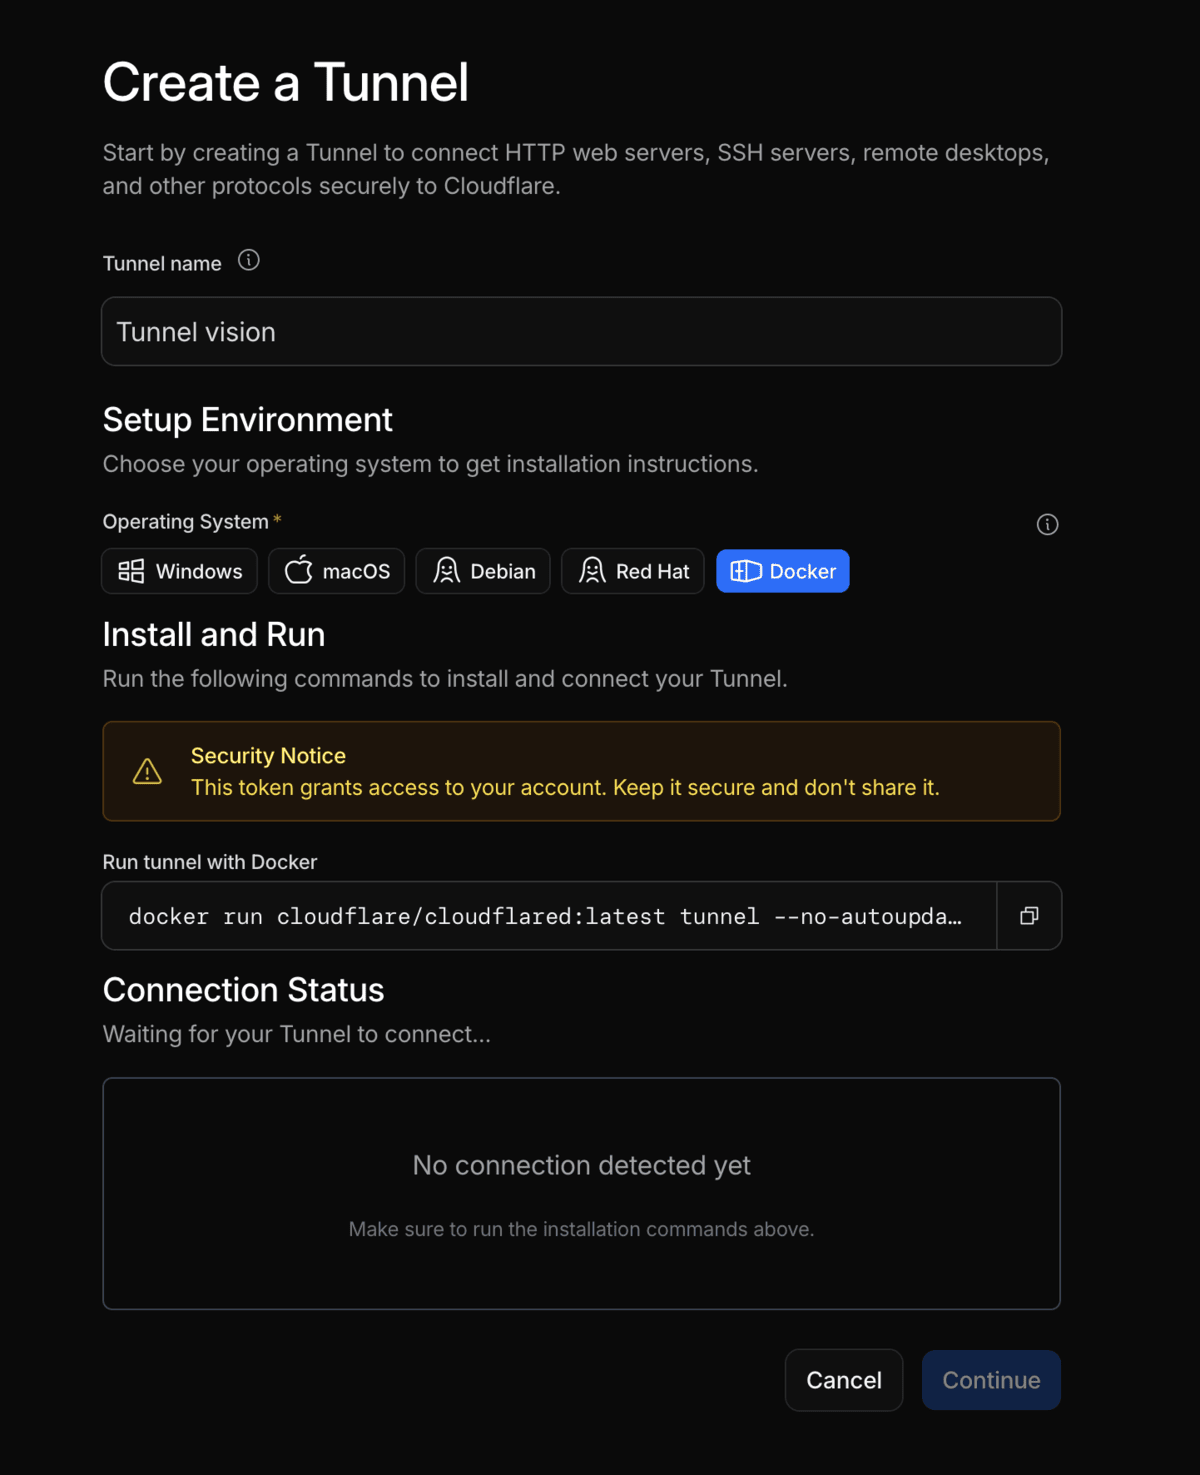
- Switch to Screen Sharing and go into your Mac Mini. Open the Terminal app and paste the command you just copied.
- Go back to the Cloudflare Tunnel setup page and you should see Cloudflare connect to your Mac Mini.
Step 3: Use LLMs to configure your websites and apps
There are so many options here that I can't cover all of them. But I can show you screenshots of what I've done through natural language conversations with LLMs.
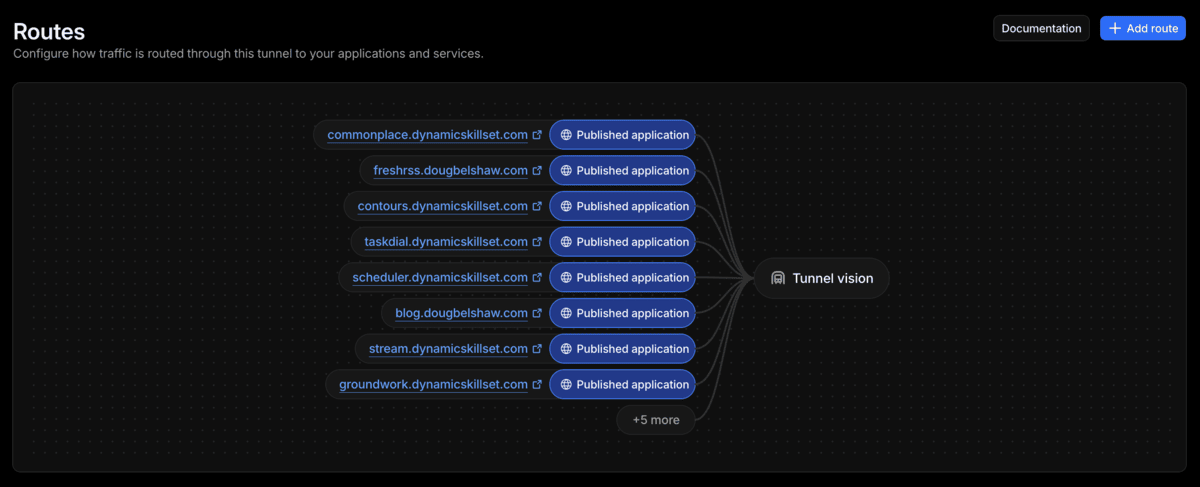
My Mac Mini is currently running 13 apps or websites:
The easiest option for most people, I should imagine, would be to install the Claude app on the Mac Mini (via Screen Sharing) and ask it to install things using the 'Code' tab.
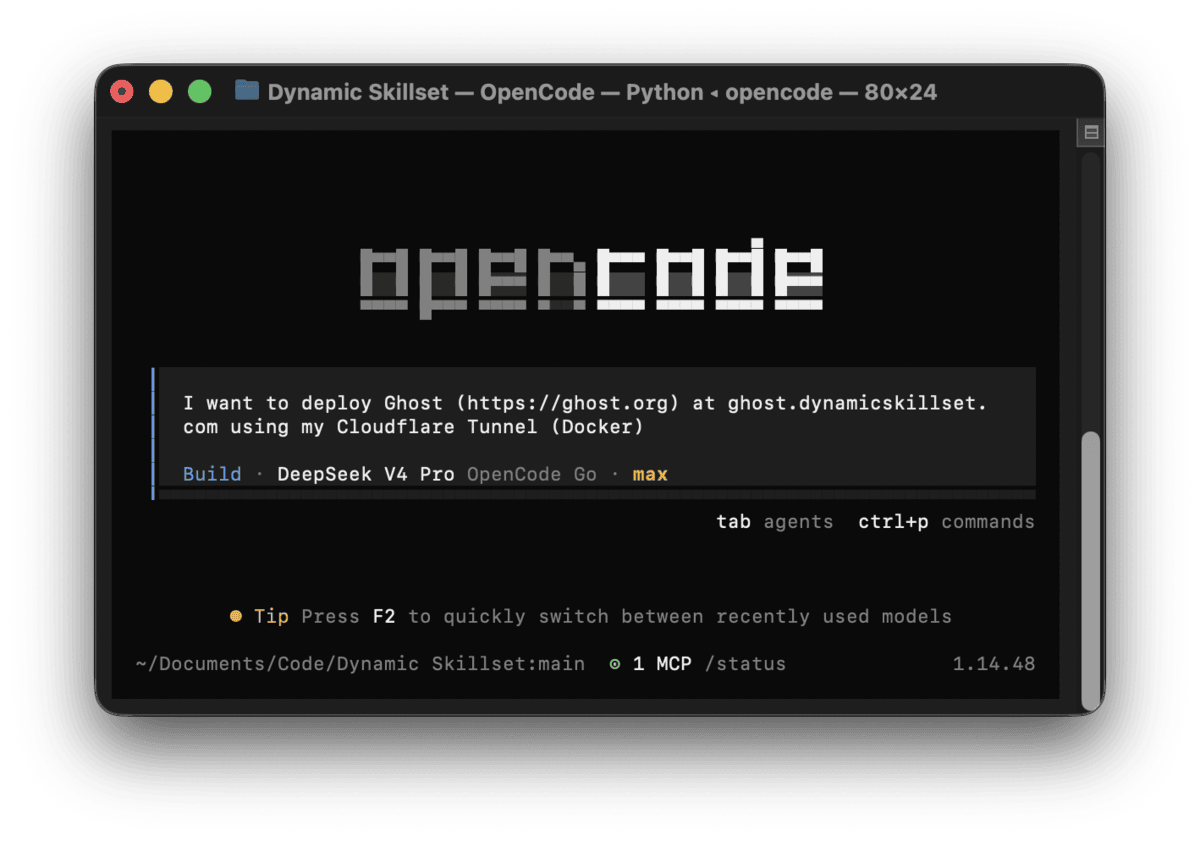
Or you could use the Terminal and something like OpenCode which can use multiple different LLMs – including ones running on your own machine.
And then, once you've mastered that, you can dispense with screensharing altogether, and use Terminal to SSH into your Mac Mini via the machine you use daily.
That's pretty much it! There's a lot of trial and error, but the reason I've been able to do so much recently is that LLMs walk you through the bit where you would otherwise give up.
And yes, before you feel like you have to say it, I know it's technically better and more powerful/flexible to use Linux to do this. Especially as Docker on macOS has to virtualise Docker. But that's not as straightforward for most people 🙂
Let me know how you get on, or if you have questions!